For context, this is a repost of a blog post on treekit.com
By Jess Coleman (kowhaitreecare)
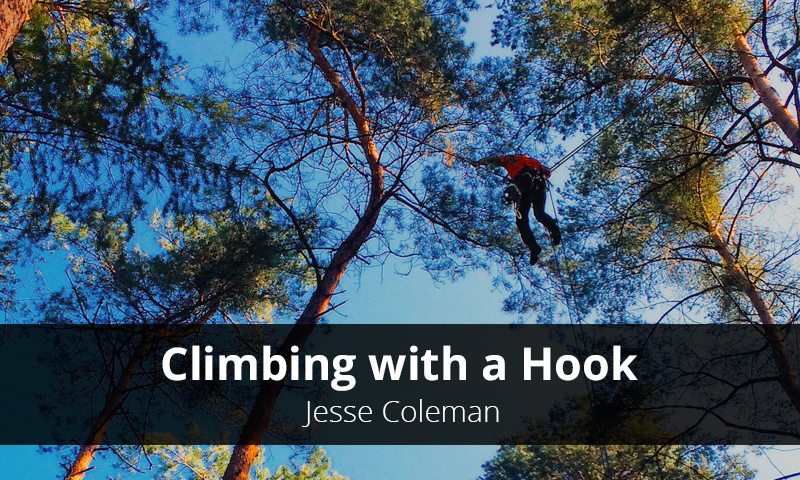
I enjoy discovering new techniques to apply and tools to use, so when I saw a fellow arborist climbing with a hook I automatically knew that I had to have one.
My name is Jesse Coleman, I am a kiwi, working as an Arborist (Baumpfleger) in Heidelberg, Germany.
Throwing hook, grapple hook, Wurfhaken… whatever you like to call them, they are instruments used in traversing from place to place within the tree or between trees. These hooks are viewed in a mixed bag from all sorts within the industry, some say that they are a waste of time, some think they are a valuable investment. Personally I am one of the latter.
The more I use my hook, the more I get an understanding of what will and won’t work, what angles are safe… and when throwing is more efficient then climbing. The following article will discuss traversing hooks, specifically. I will cover the good and bad hook positions, throwing and retrieval techniques and will lightly touch on angles and forces. I hope the following things I have observed will shed some light on what seems to be a foreign subject to most.
Hook Positions

The first one is your classic hook placement. It’s secure and easy to hook, without too much messing around. Its placement moves as your angles change, so it’s important to be aware of this, but I have found it to be very reliable. If you have a long traverse and will not be going to the place where your hook is set; or if you are using it again for a retraverse, then retrieval may be difficult. With the force placed on the hook it can bite quite hard into forks, so climbing up higher and getting a better angle will save you cursing and struggling when trying to pull it out.
My personal favourite is what I call the over and under technique. This I have found to be “double bomber” as when your angles change the hook placement stays consistent. It’s very easy to retrieve, just add some slack into the system and flick it around then the hook will release.
Another technique is to gather up a bight of rope midline and throw that with the hook, this takes some playing around to find the right amount of rope to get over but offers a nice comfortable 2:1 advantage.
Poor Hook placement
This should not be used on a long traverse, the change in angles can make the hook slip out of place.
Don’t use shots that you are not sure about! I have heard a few horror stories about serious pendulums that have caused not only the user to be quite badly injured but to stop using traversing hooks completely. This tool is for climbers that have a good understating of vector forces, not Larry Hackman and Lenny the Lopper.
Spending a little bit of time practising and gaining experience helps you understand when, where and what works. I’ve found that when throwing from an awkward position, you struggle to get the shot you want as your energy is distributed between keeping balance and throwing. Or you can’t get the right length of rope for the pendulum you require to hit that far away shot. Spend an extra 20 seconds getting a good throw position, ideally where you have enough room for that decent pendulum. I like to gather up as much rope as I need and then add a little bit extra (just in case). I use the throw line pendulum a lot in more open crowns, but favour gathering up a bundle of rope when throwing in trees with a dense crown. Once I hit the shot I’m looking for, the interesting part starts… getting the hook to set. Here’s where having an extra splice on the other side of your climbing line really comes into play, but never mind if you don’t, just mess around and see what works. I find twisting the rope then giving a small flick can actually turn the hook to where you want it, take your time and be patient.

A recommendation when you are getting to grips with the climbing hook is to just set up a separate doubled rope system with the tail of your line. Have your rope running through a pulley or straight through a carabiner. This gives you a little room to play around and experiment with what works – if you manage to get it stuck, you have the option to just unclip and pull your rope out.

How you attach to your line once it’s set is down to personal preference, I use what’s on my harness all the time … It’s a Gleistein Inco prusik with a carabiner and a DMM Pinto pulley. This can be used as a second system, retrievable redirect, non retrievable redirect and progress capture for traversing. The bonus of the Inco prusik is that I can girth hitch it onto the Pinto becket for a more streamlined system. Other options that are widely used are small ascenders like the Wild Country Ropeman, CT RollnLock, Kong Duck, etc, but these do not give you the option to back out if necessary.
Using a foot ascender really makes the whole process a lot easier, you just use that to push yourself across the traverse line, sliding up the progress capture as you go. When you get to your destination, rope in as soon as possible, your traverse is not complete until you are safe and sound roped in with your lanyard.
When moving around the canopy or in-between trees, It’s very easy to get carried away with obtuse angles but… you really should have at the very minimum a basic understanding of vector forces, so let me watch your eyes slowly glaze over as I briefly touch on angles and forces.
Ideally you want to be traversing with rope angles of around 45 degrees up to a maximum of 120 degrees. At 120 degrees your entire weight is on both anchor points. For example if you weighed 100 kg then your main anchor would have 100 kg as well as your traversing anchor. Anything above 120 degrees, the forces skyrocket e.g. at 140 degrees the weight on each anchor will rise to around 146 kgs. At 150 degrees you are adding a lot more force as the weight on each anchor will rise to around 193 kgs. You should also carefully consider the amount of leverage you are putting on both these anchor points, how long the leaders or branches are should definitely be calculated into what angles you use for your traverse. A good site with charts and info is: ropebook.com check out the link below for more information.
www.ropebook.com/information/vector-forces
After purchasing a hook I really started to look at trees differently, changing climbing routes and using it for not only traversing but also for odd bits of deadwood, rope retrieval, pulling out stuck branches when pruning or even getting the chainsaw you forgot under the tree…. The hook is something that is now a permanent fixture on my harness, it has reduced fatigue and increased production in my day to day work.